Google Sheets Webhook Tutorial
If you need to send or receive webhooks but don’t want to code an entire server to do so, you can use Google Sheets as a Web App and deploy a script. We’re going to assume you already know what webhooks are but in case you need a refresher, you can check out our “What are Webhooks?” article. We’ll cover both sending and receiving but if you only care about one, you can skip ahead to the sending tutorial here and the receiving tutorial here.
Google Sheets Webhook Sender
Building a Google Sheets Webhook Sender is a three step process that lets you send data from Google Sheets when content in your sheet changes.
Step 1: Create Your Sheet and Add a Script
We’re going to start with a new spreadsheet and add some column headings but you can also configure an existing document.
Select Extensions from the Toolbar menu and then select Apps Script.

A text editor should open up. Delete the code and insert the following code:
function doGet(event) {
var spreadsheet = SpreadsheetApp.getActive();
var lastRow = Math.max(spreadsheet.getLastRow(),1);
var range = spreadsheet.getActiveSheet().getRange(2, 1, lastRow-1, 3);
var values = range.getValues();
Logger.log(values);
return ContentService.createTextOutput(JSON.stringify(values));
}
function doPost(event) {
return HtmlService.createHtmlOutput('request received');
}
function currentTime() {
var d = new Date();
var currentTime = d.toLocaleTimeString();
return currentTime;
}
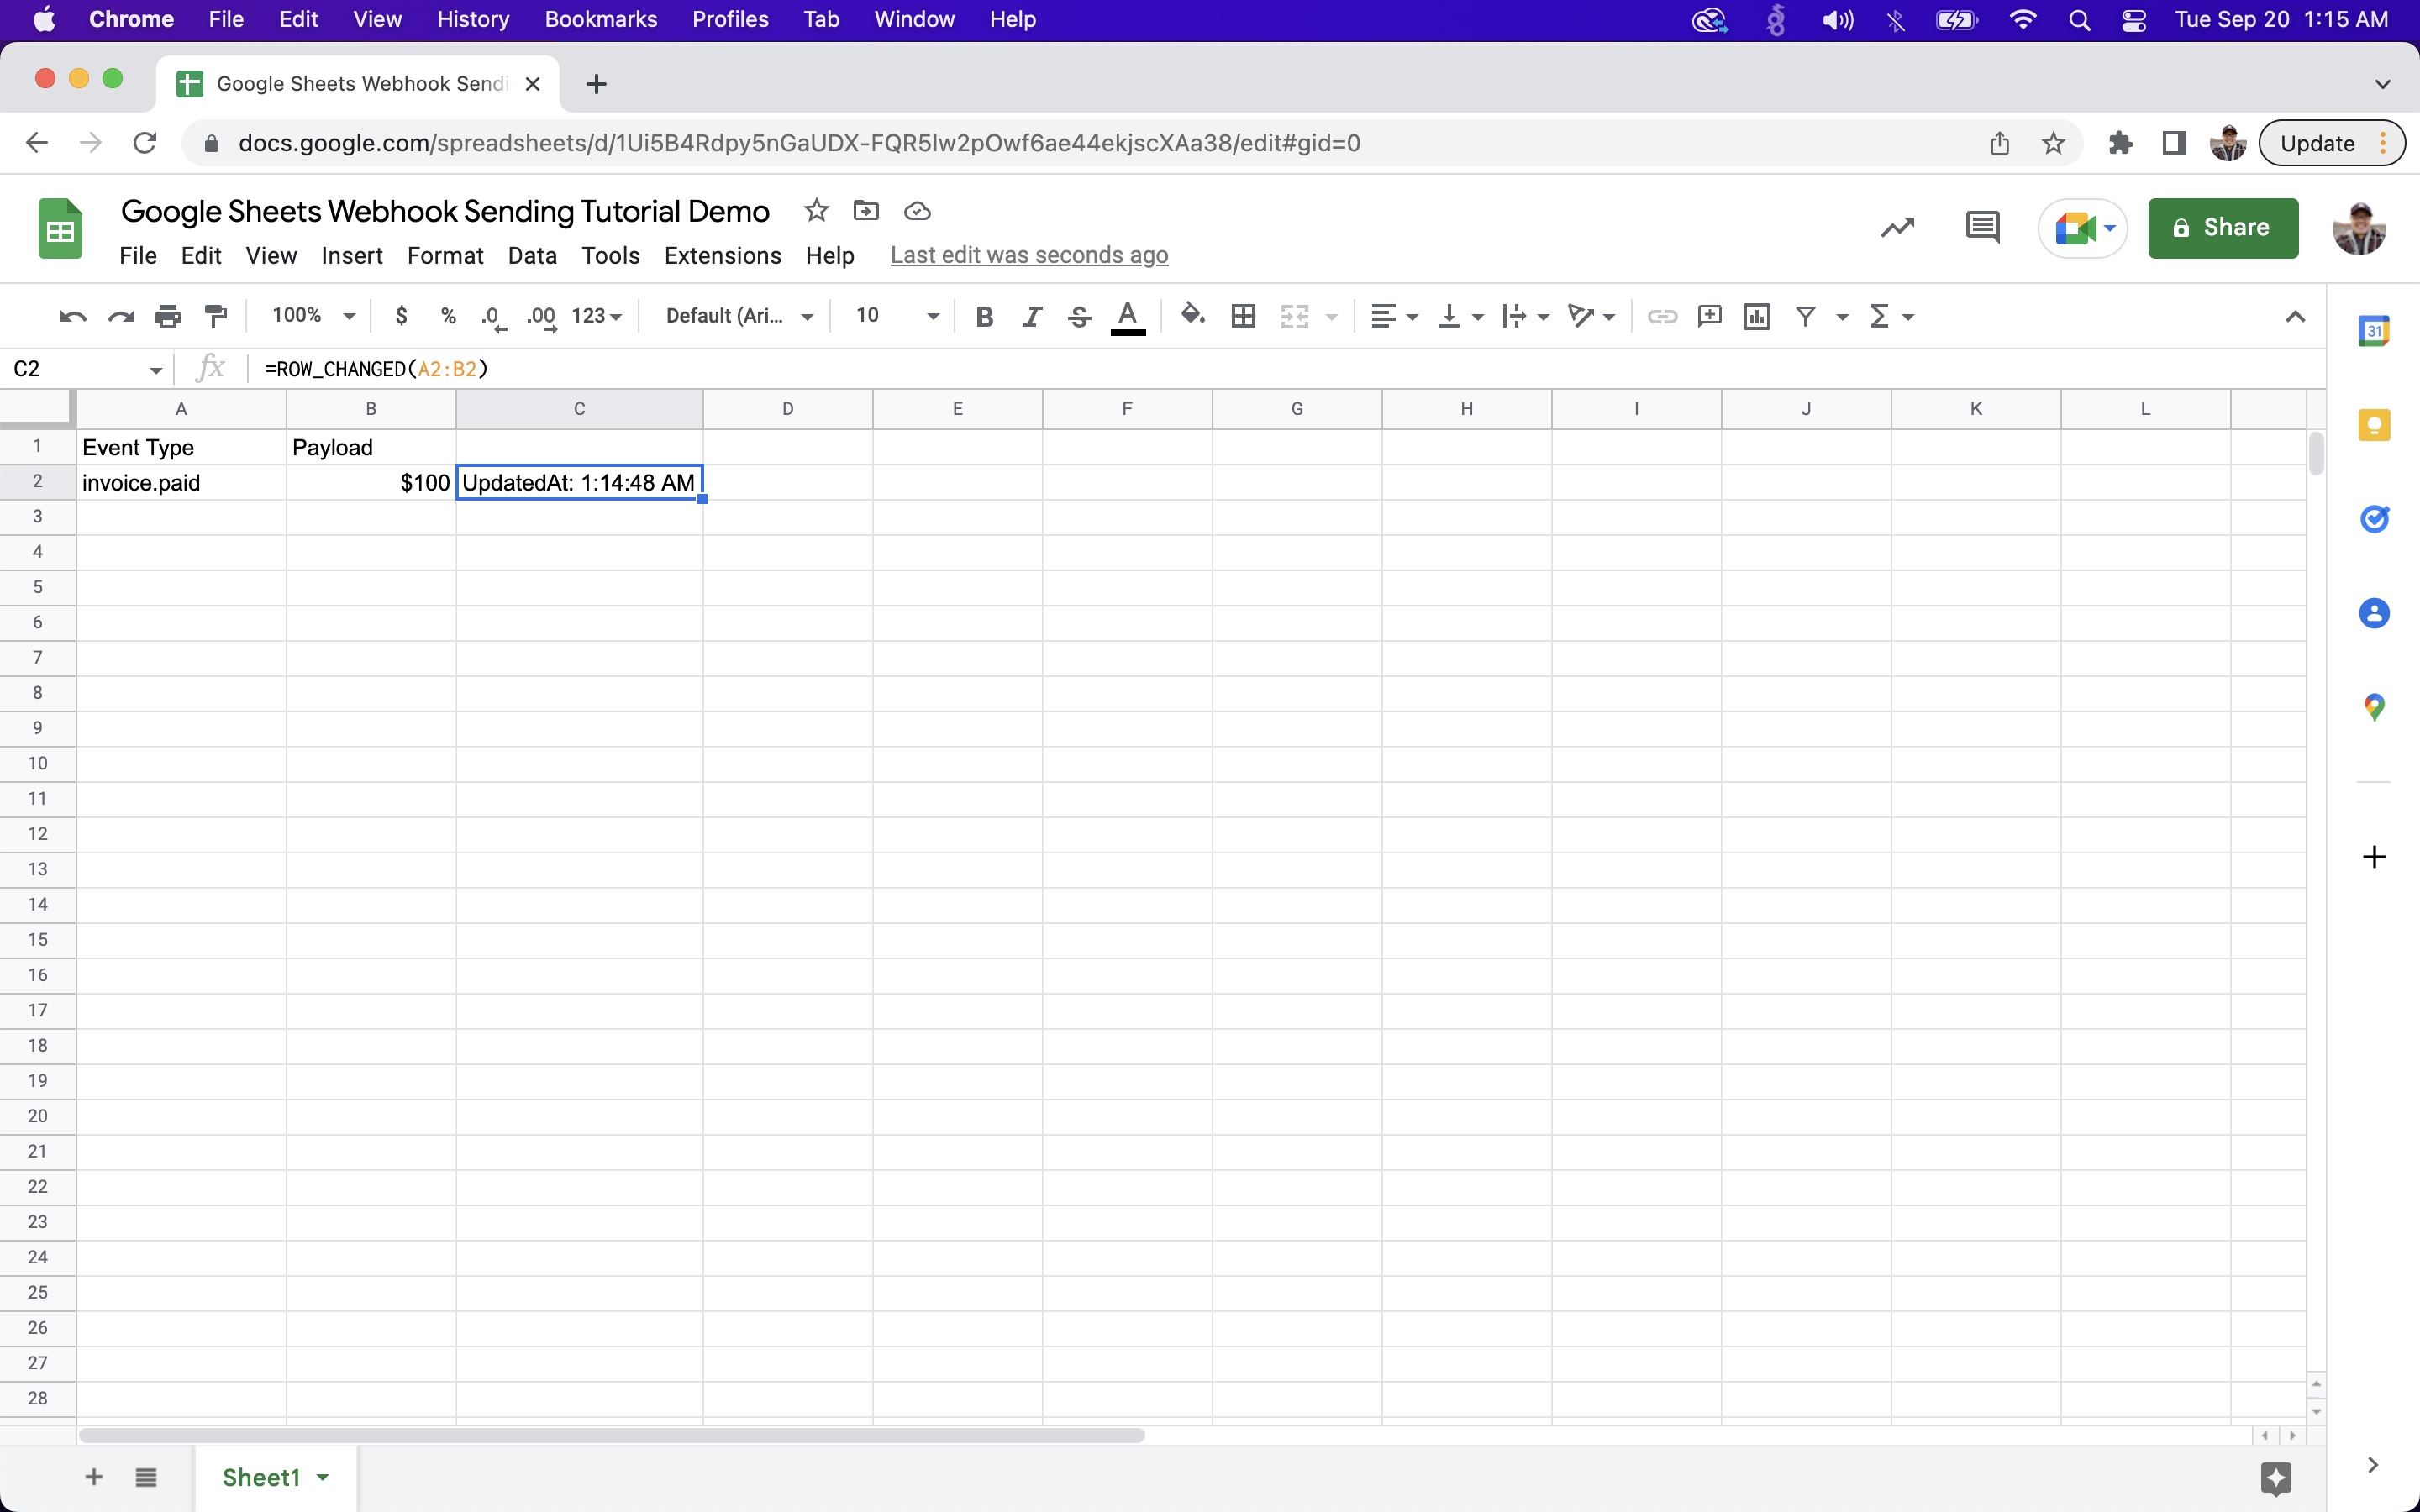
function ROW_CHANGED(row) {
var options = {
'method' : 'post',
'payload' : JSON.stringify(row)
};
UrlFetchApp.fetch('ENTER YOUR WEBHOOK ENDPOINT URL HERE', options);
return "UpdatedAt: "+ currentTime()
}
The doGet function will trigger when you receive a GET request and return the current values in the spread sheet. Similarly, doPost triggers when you receive a POST request. ROW_CHANGED is the custom function you'll use in your spreadsheet to track the changes for a specific row.
Make sure to save your changes after you’ve entered the script.
Step 2: Get Your Webhook URL Endpoint and Publish Your Script
If you already have your endpoint URL, just enter it into the code above.
We're going to use Svix Play.
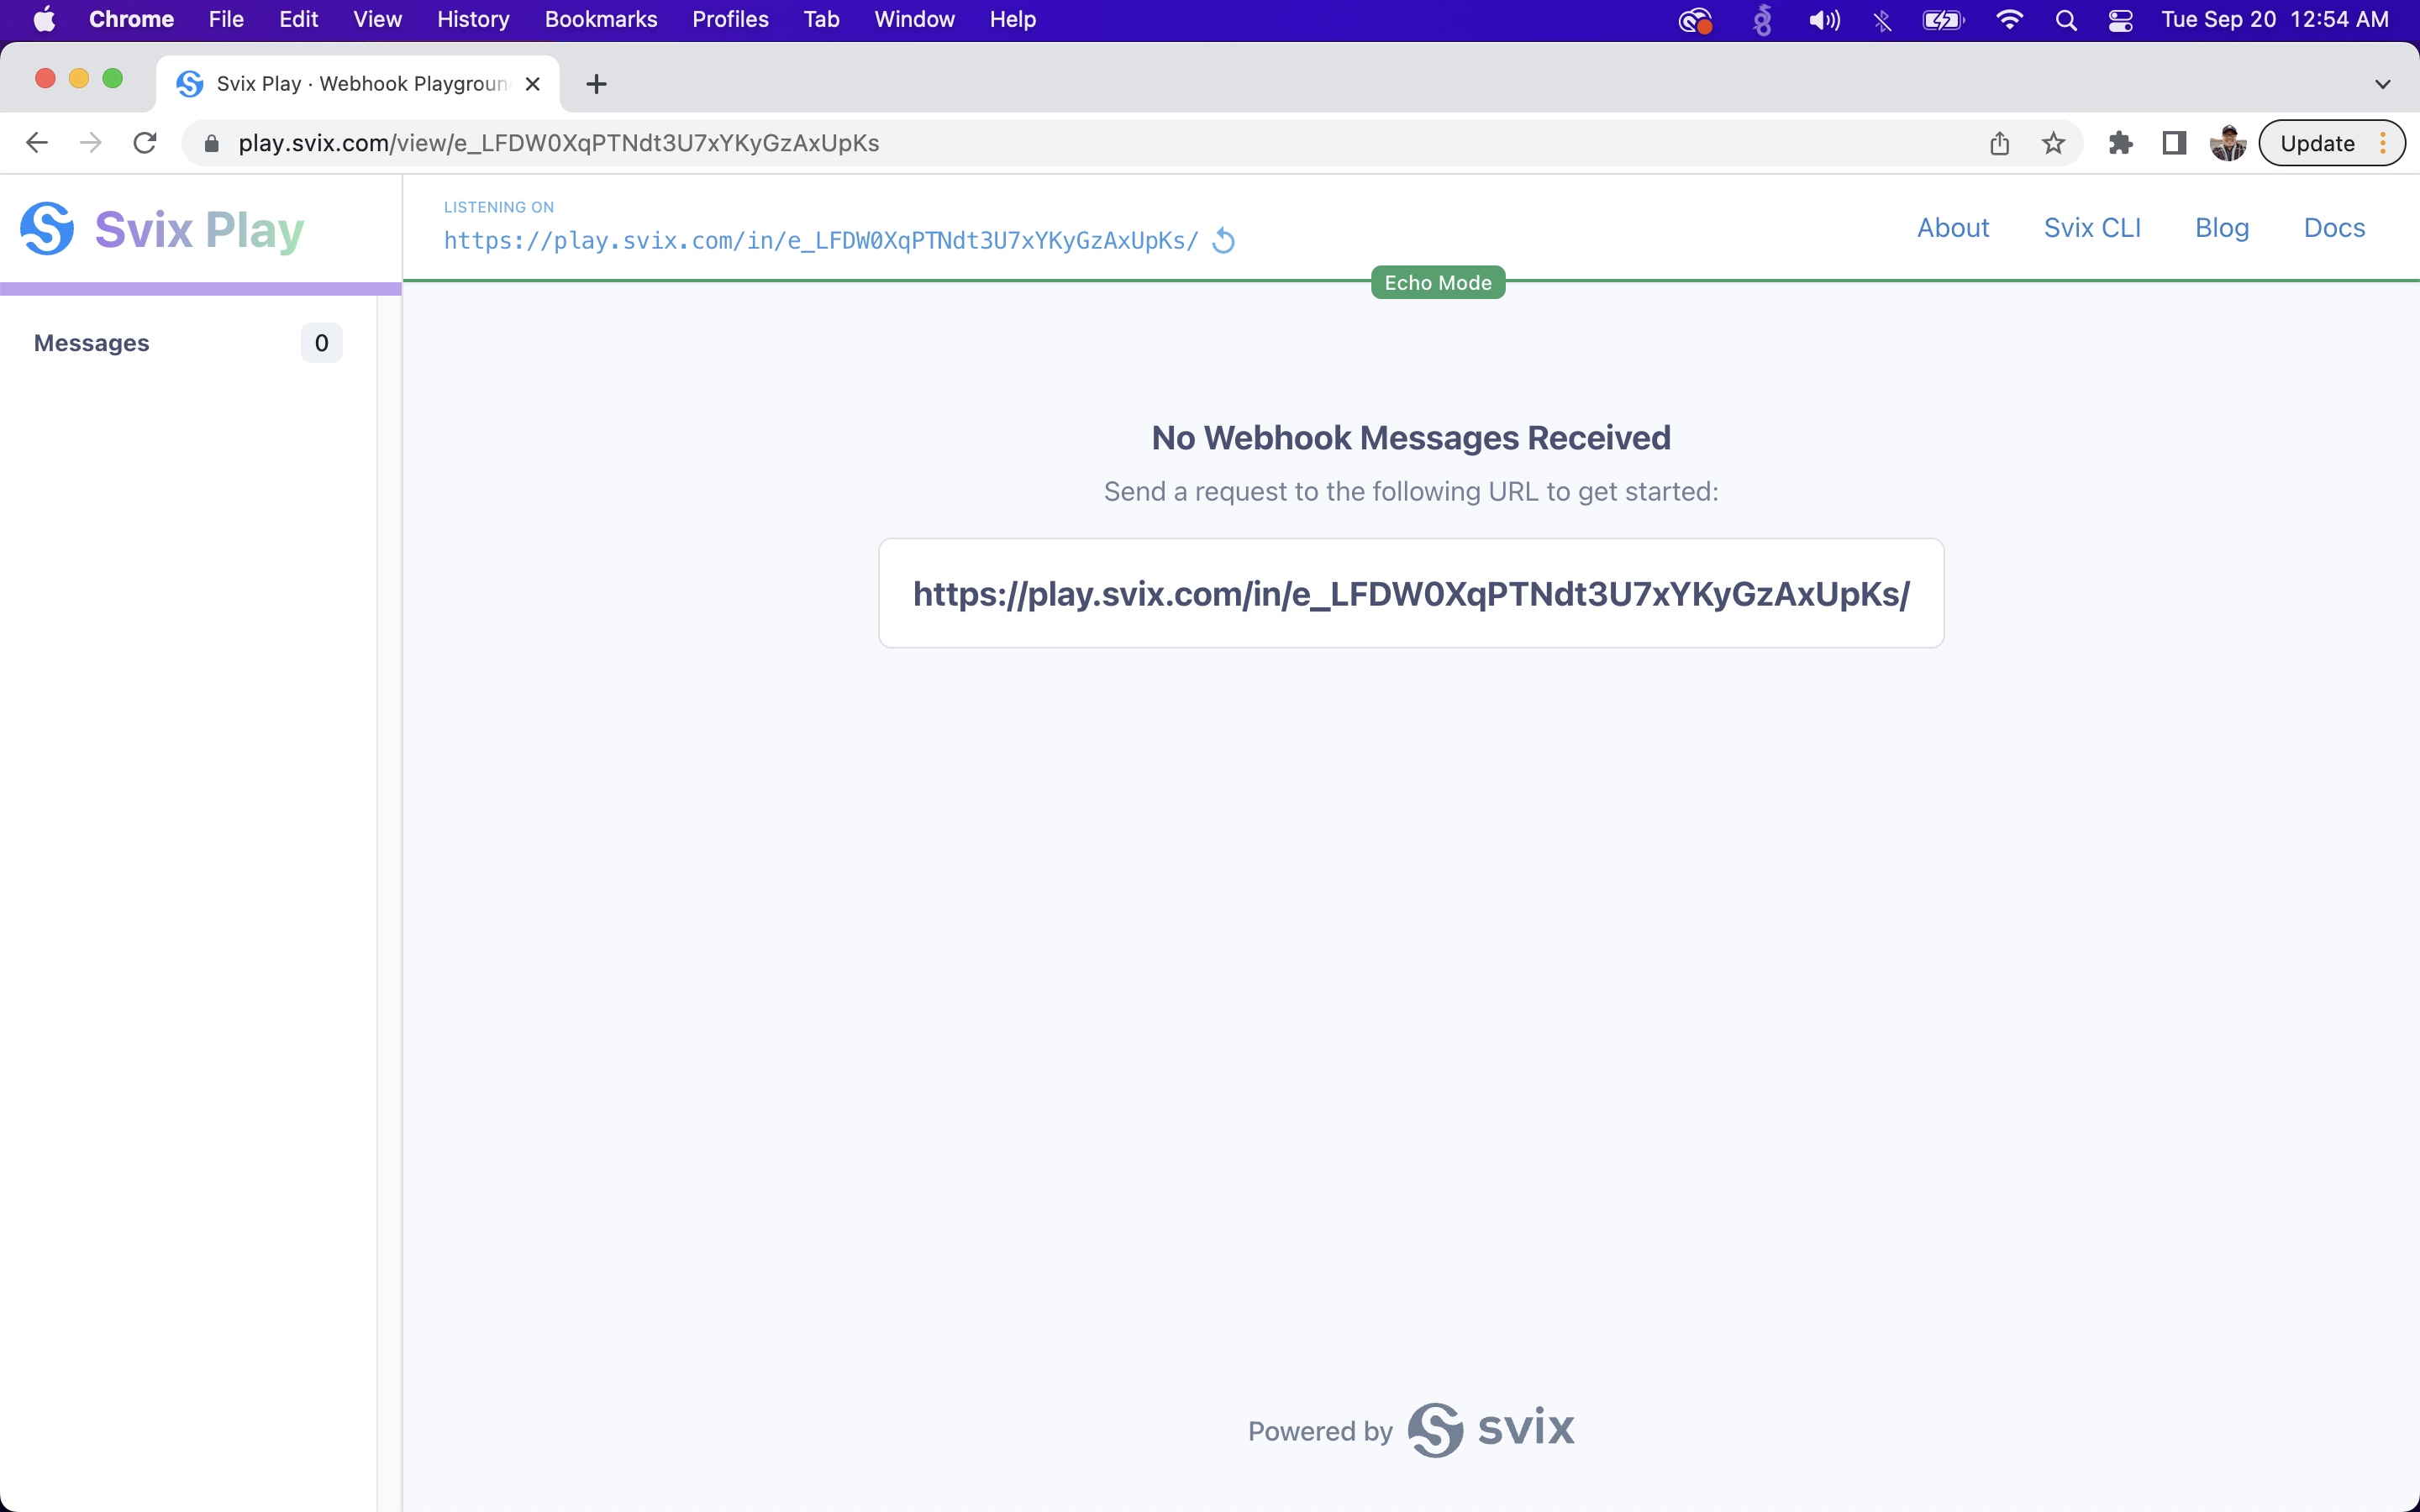
Once you enter the script, you need to deploy your script as a web app:
Click on the Deploy button in the top right and select New Deployment.
Click on Select type and choose Web app.
You can add a description if you want.
Under Web app choose to execute as yourself and authenticate.
Under Who has access choose Anyone.
Click Deploy.
Step 3: Test Your Google Sheets Webhook Integration
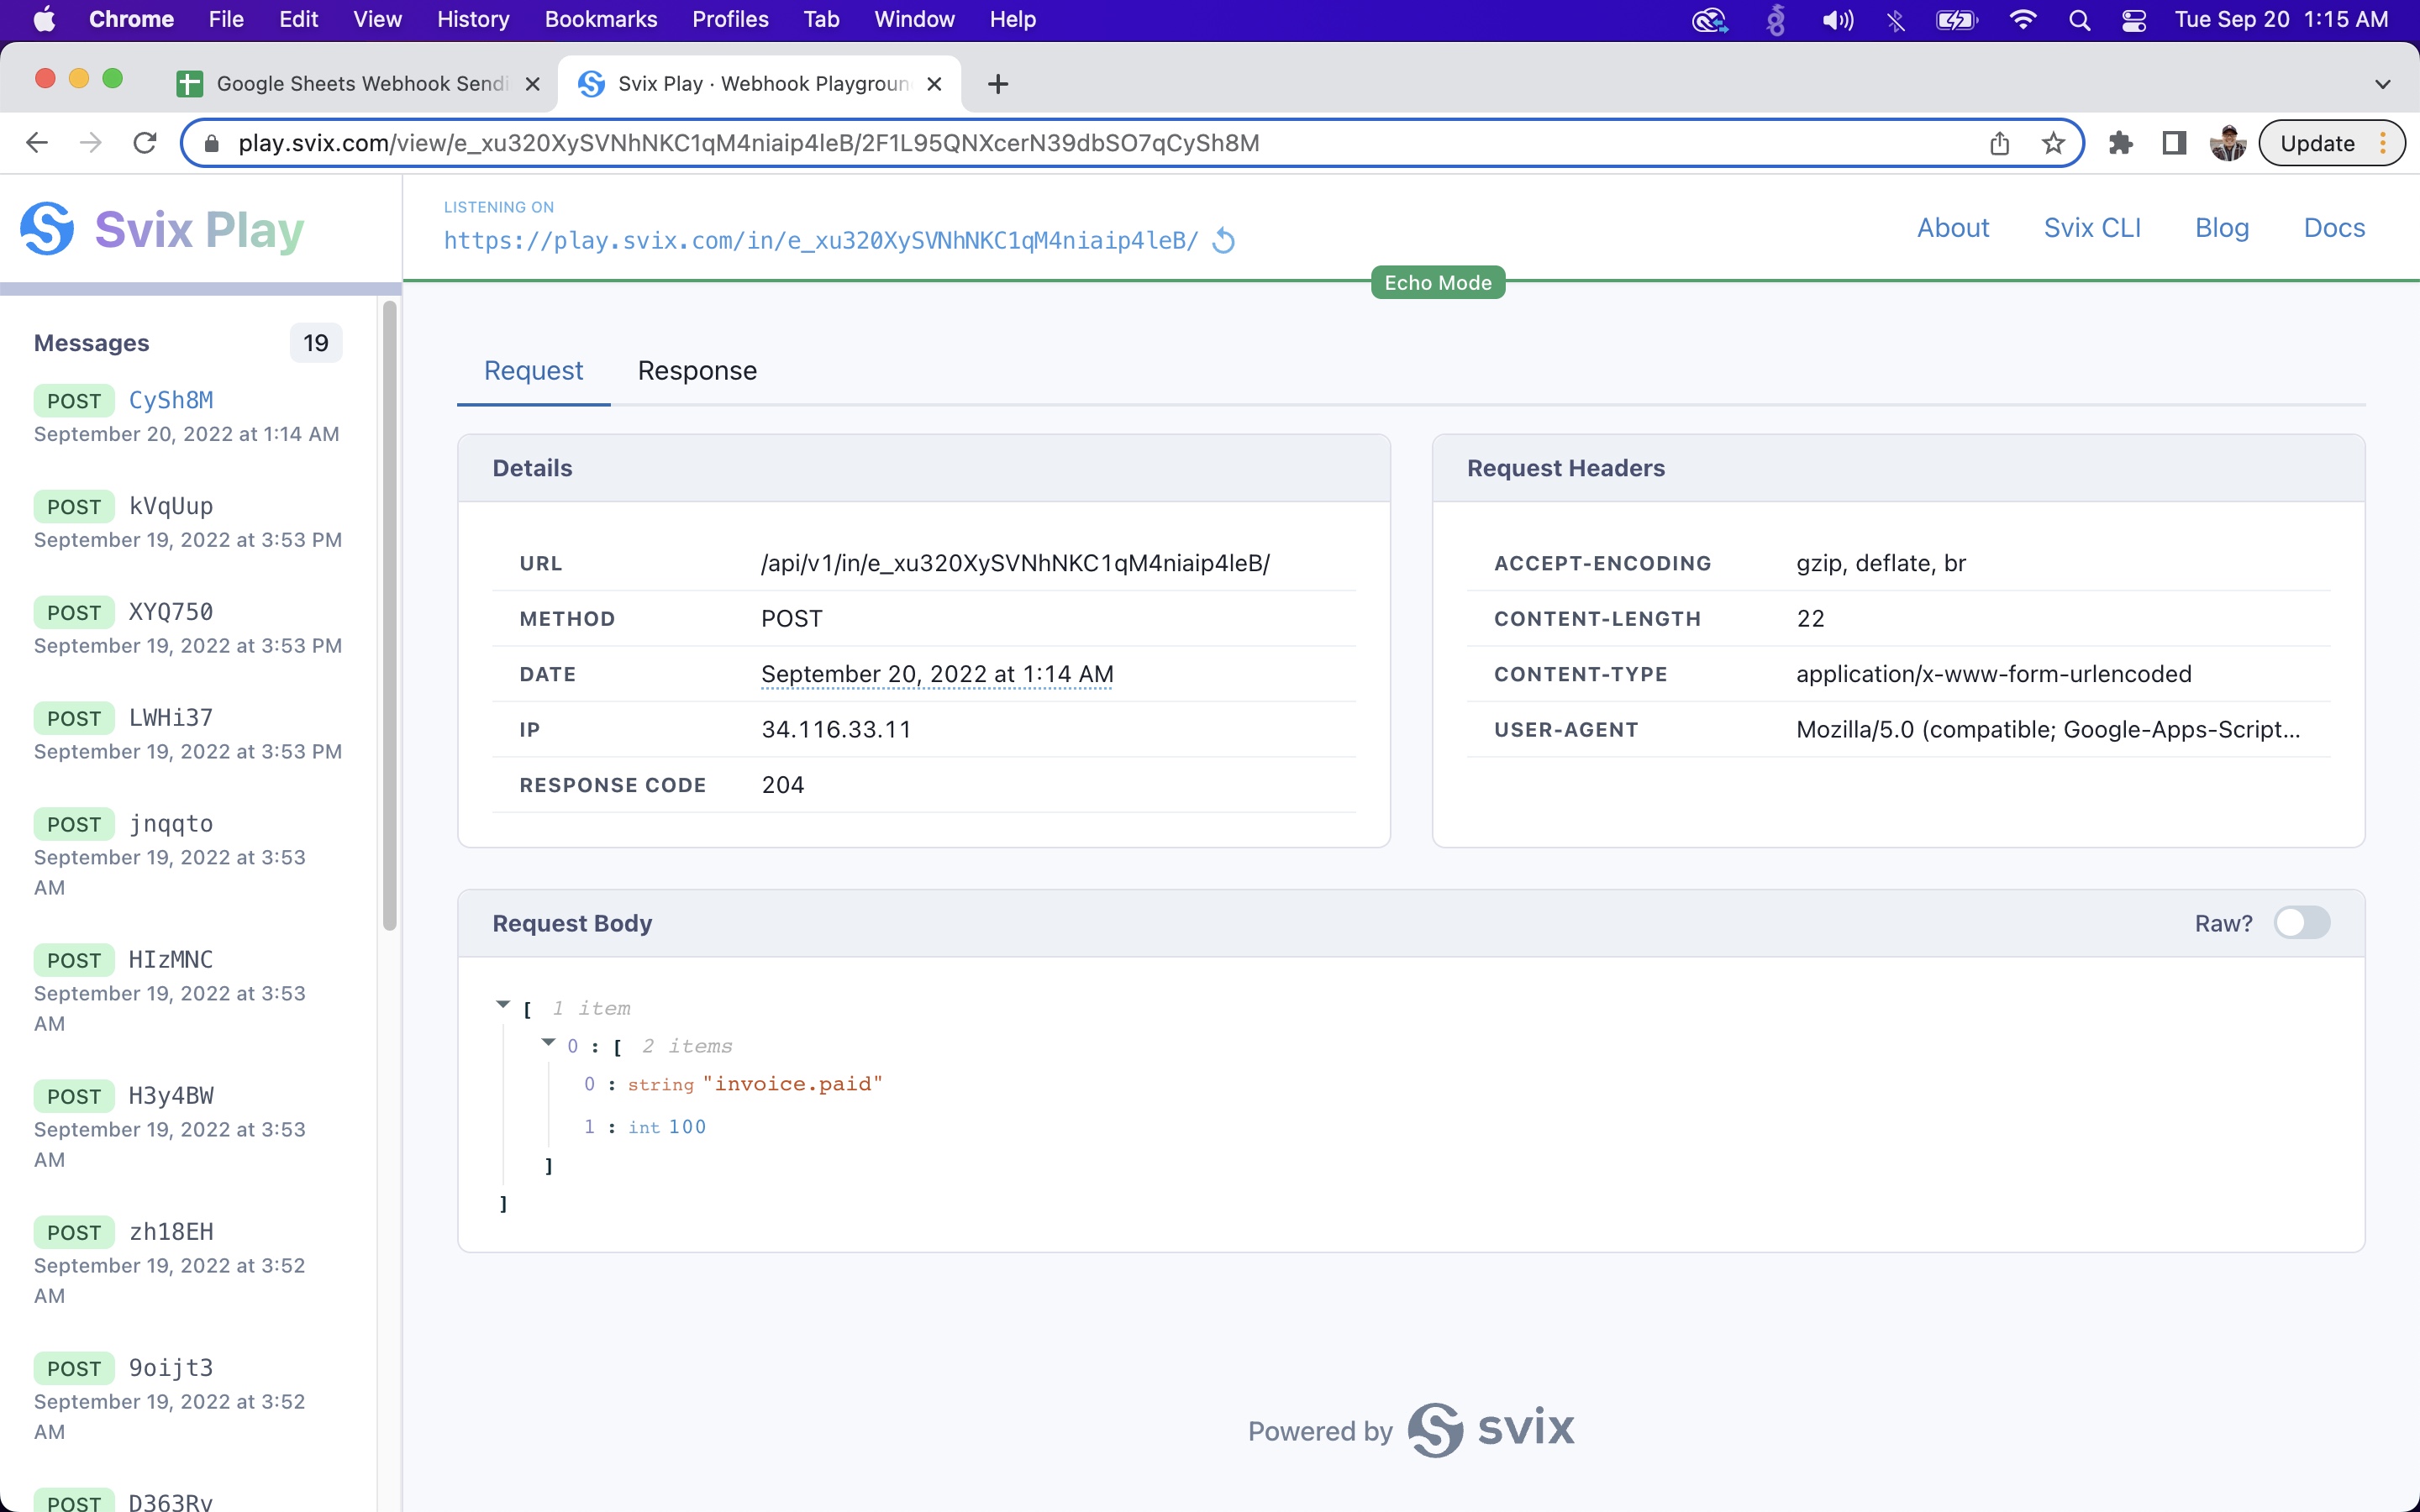
We can see that when we add data to the spreadsheet, our receiver catches the webhook message:
Here is a link to the final sheet if you want to make a copy (Don't forget to replace the endpoint URL with your own!
Google Sheets Webhook Receiver
If we want to receive webhooks with our Google Sheet webhook integration, there are also 3 steps:
Step 1: Create Your Sheet and Add the script
We’re going to start with a new spreadsheet and enter some column headers but you can also configure an existing document.
Select Extensions from the Toolbar menu and then select Apps Script.
A text editor should open up where you can insert the following code:
function doGet(e) {
    return HtmlService.createHtmlOutput("request received");
}

function doPost(e) {
    var params = JSON.stringify(e.postData.contents)
    params = JSON.parse(params)
    var body = JSON.parse(e.postData.contents)
    var amount = body.amount
    var eventType = body.eventType
    var sheet = SpreadsheetApp.getActiveSheet();
    var lastRow = Math.max(sheet.getLastRow(),1);
    sheet.insertRowAfter(lastRow);
    var timestamp = new Date();
    sheet.getRange(lastRow + 1, 1).setValue(timestamp);
    sheet.getRange(lastRow + 1, 2).setValue(eventType);
    sheet.getRange(lastRow + 1, 3).setValue(amount);
    SpreadsheetApp.flush();

    return ContentService.createTextOutput(JSON.stringify(body))
}
Make sure to save your changes after you’ve entered the script. The doGet function is triggered when you receive a GET request while the doPost function is triggered when you receive a POST request. This code is specific to our example. To customize it for your sheet, you would change the variables to reflect the data in the body of your request.
Step 2: Publish Your Script
Once you have entered your script, you need to deploy your script as a web app. Follow the steps to do so:
Click on the Deploy button in the top right and select New Deployment.
Click on Select type and choose Web app.
You can add a description if you want.
Under Web app choose to execute as yourself and authenticate.
Under Who has access choose Anyone.
Click Deploy.
Copy the Web app URL (You will need this!).
Step 3: Test Your Script
Once you’ve published your script, you should test it to make sure its working. You’ll need to send a POST request to the Web app URL you copied at the end of Step 2. We'll use Postman. Just make sure you set the request to POST and the data type of the body to JSON.
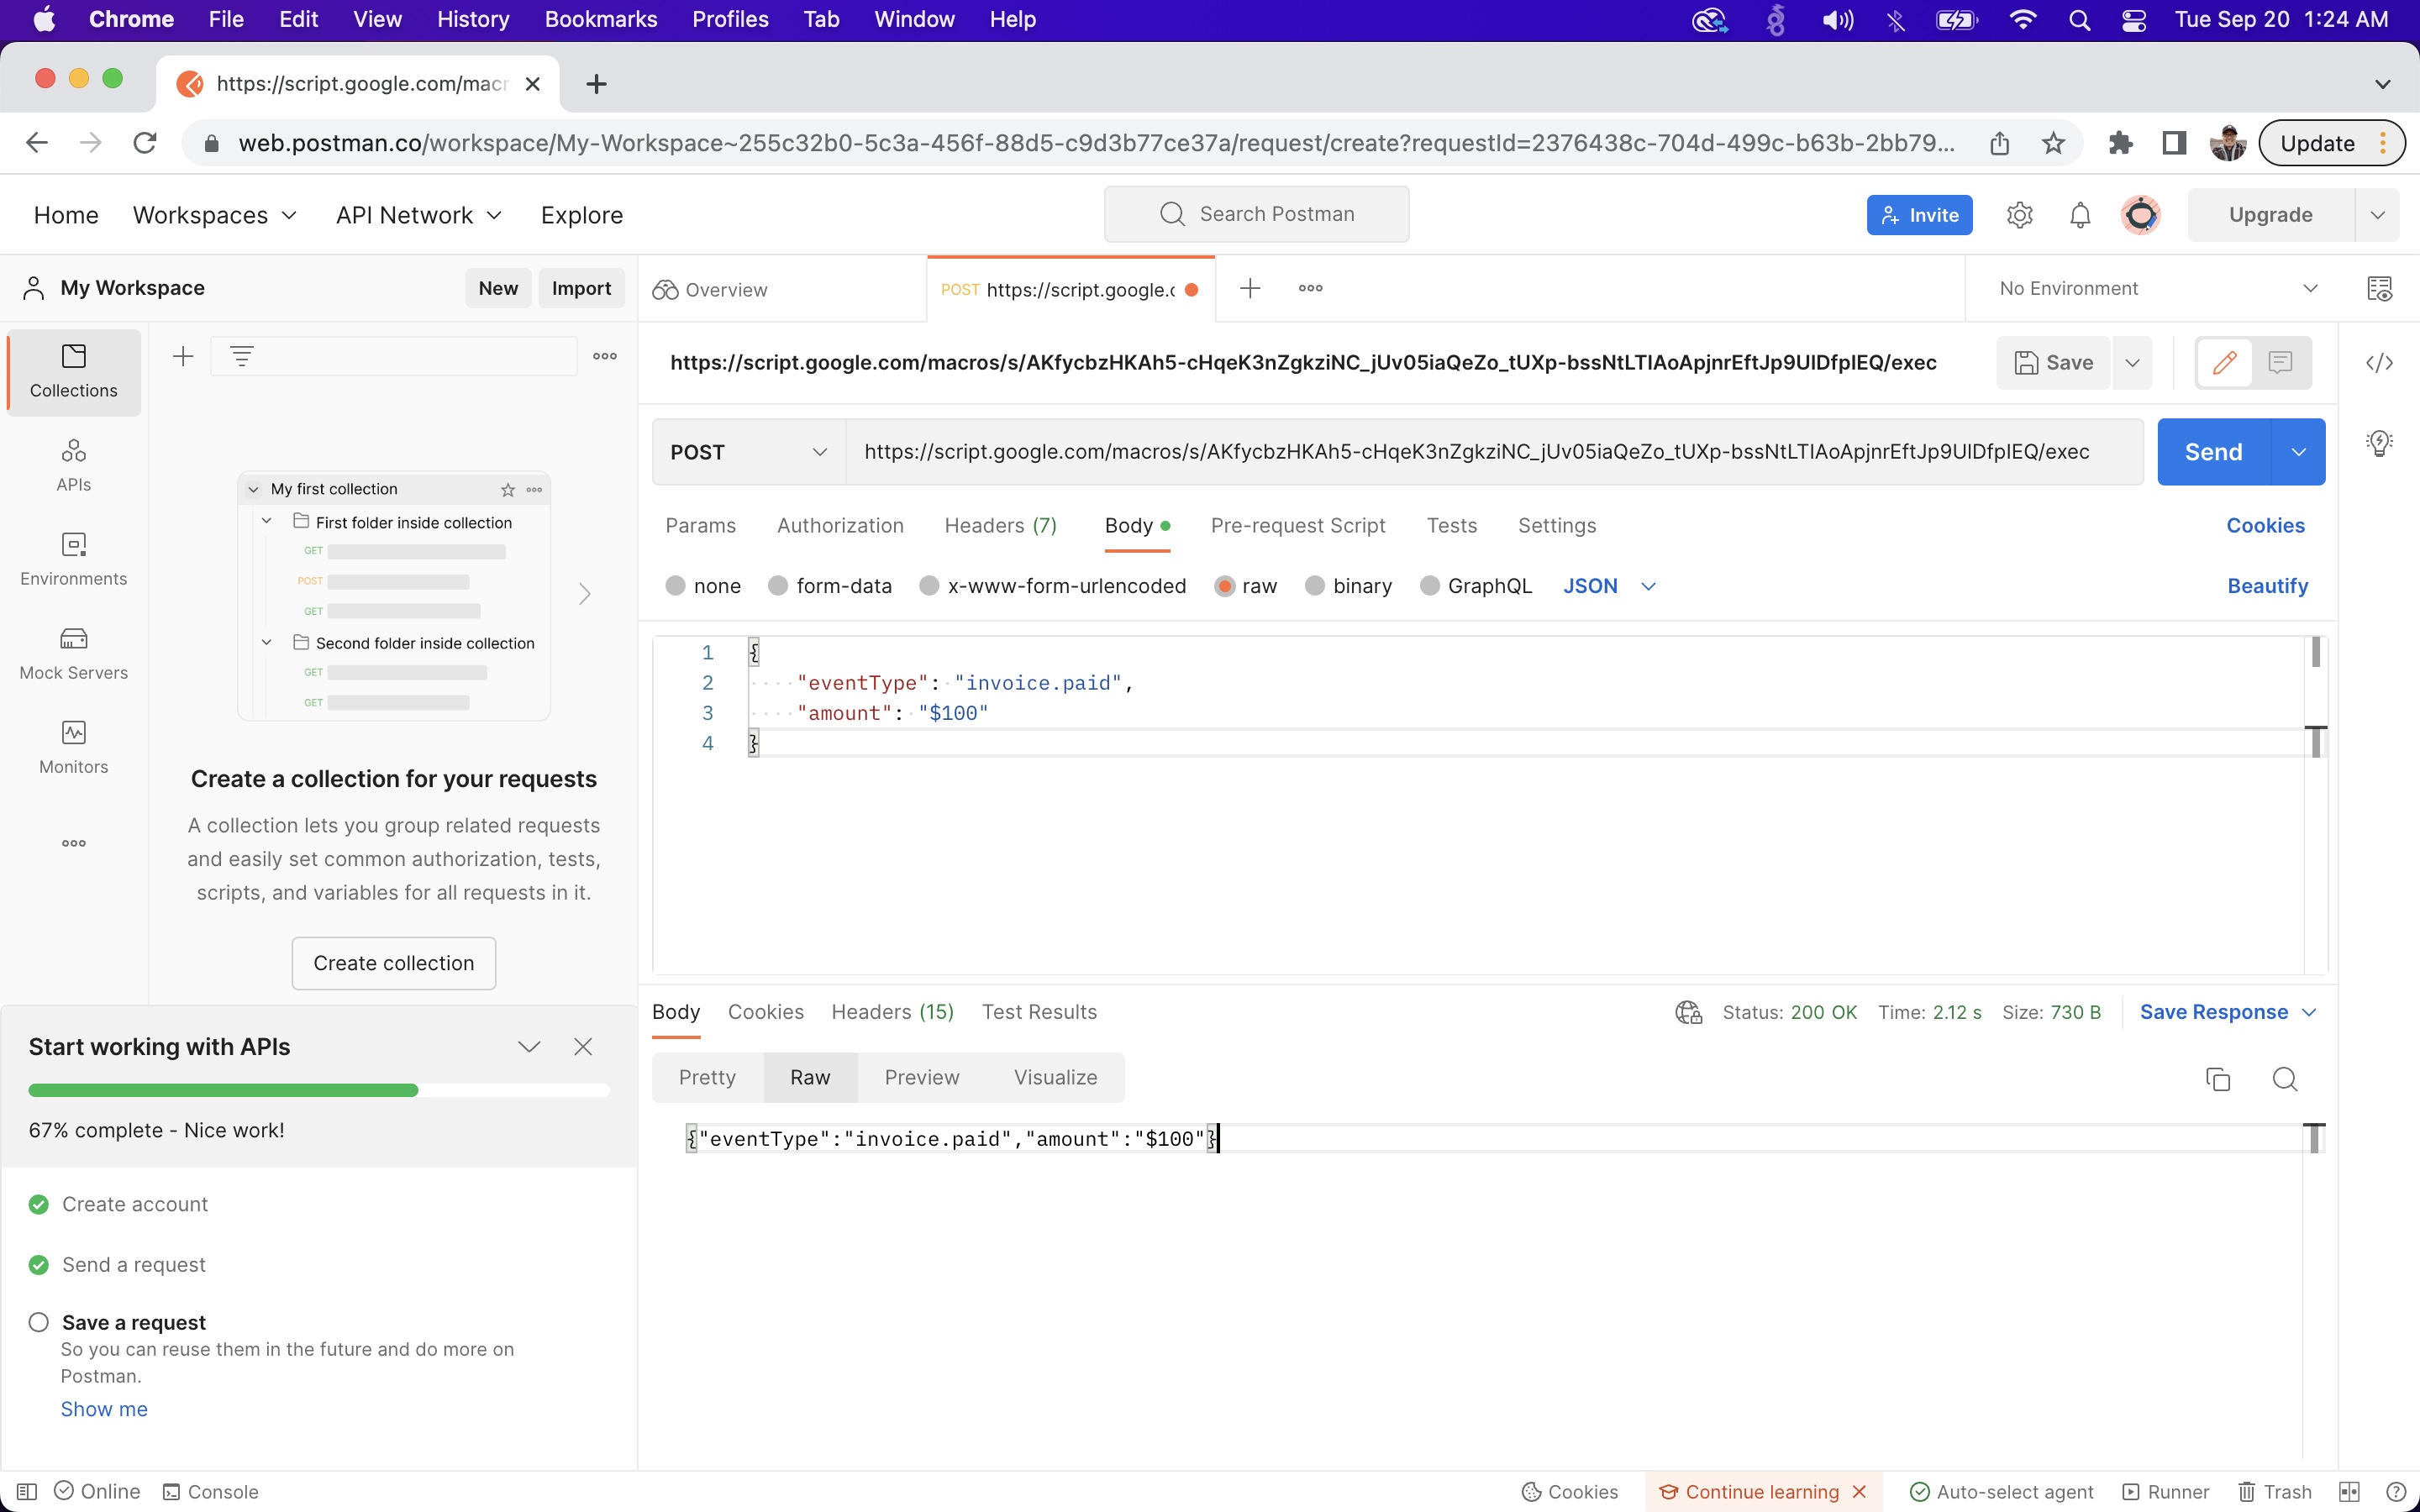
If its working correctly, you should see new rows of data in your sheet when you send the request.
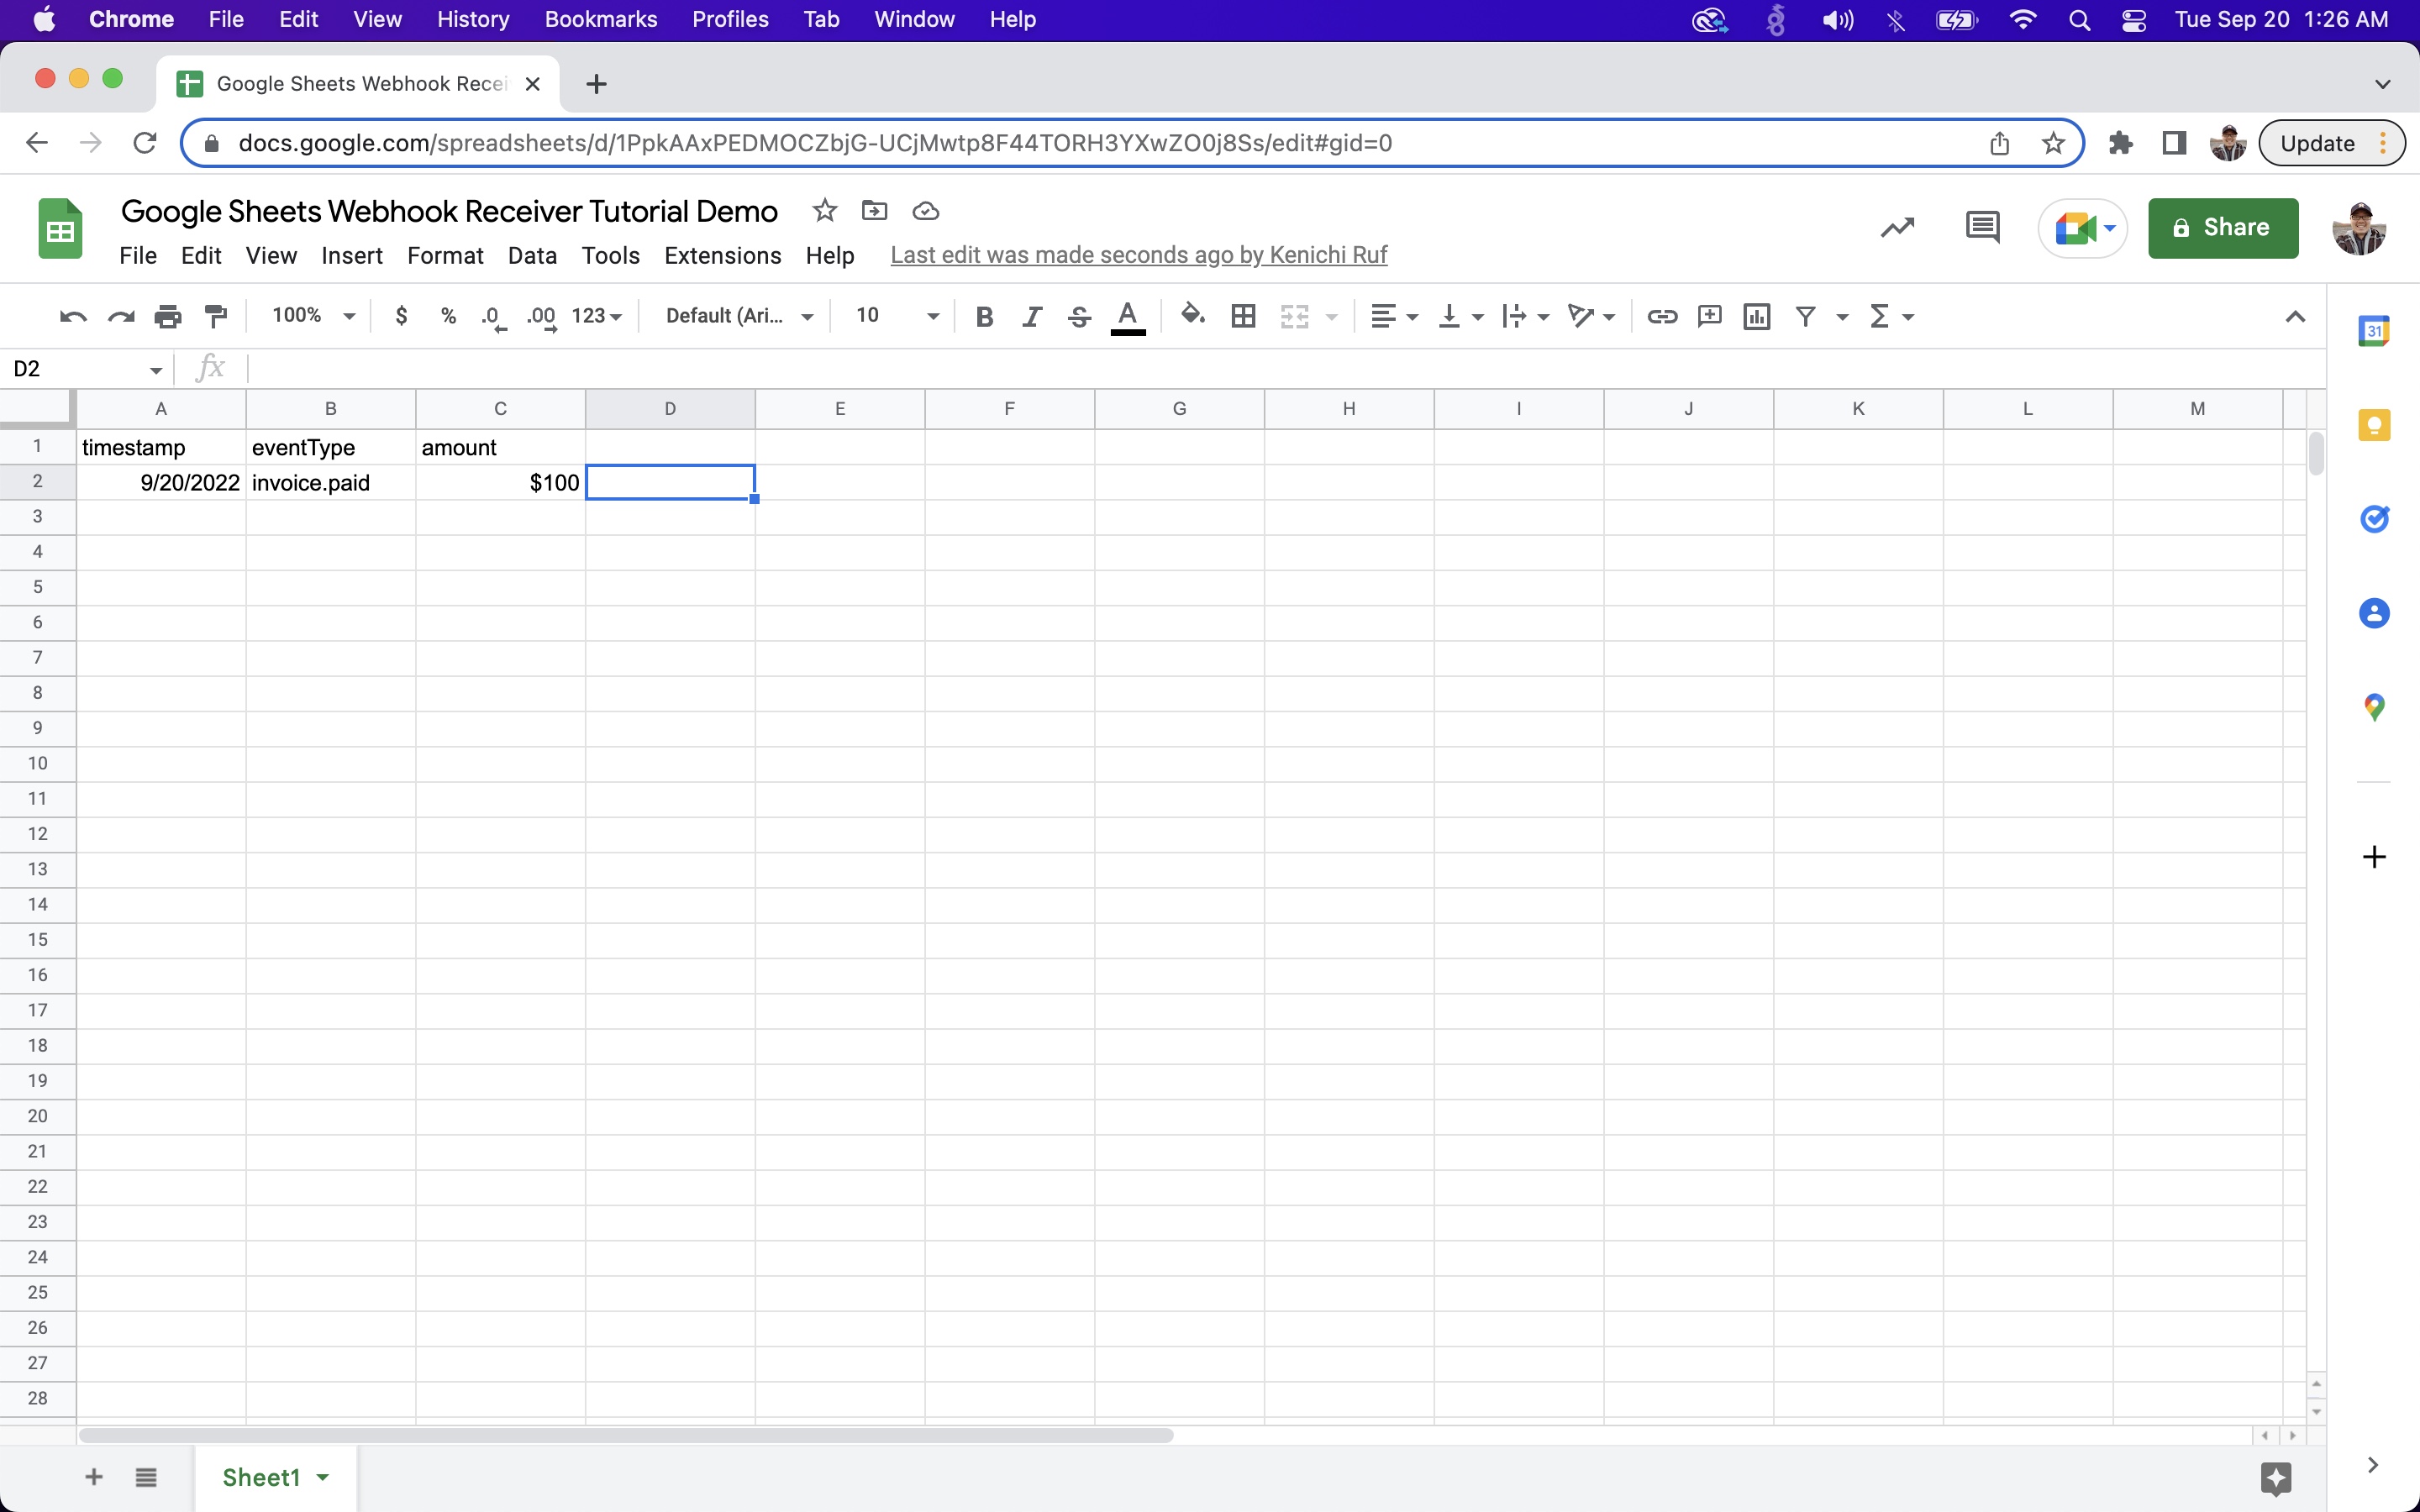
Here is a link to the final sheet if you want to make a copy.
Conclusion
If you're looking for a quick and dirty way to use Google Sheets to send or receive webhooks, utilizing the Apps Script feature is great. However, if you're trying to build a reliable, secure, and scalable webhook solution, you should look at Svix instead.